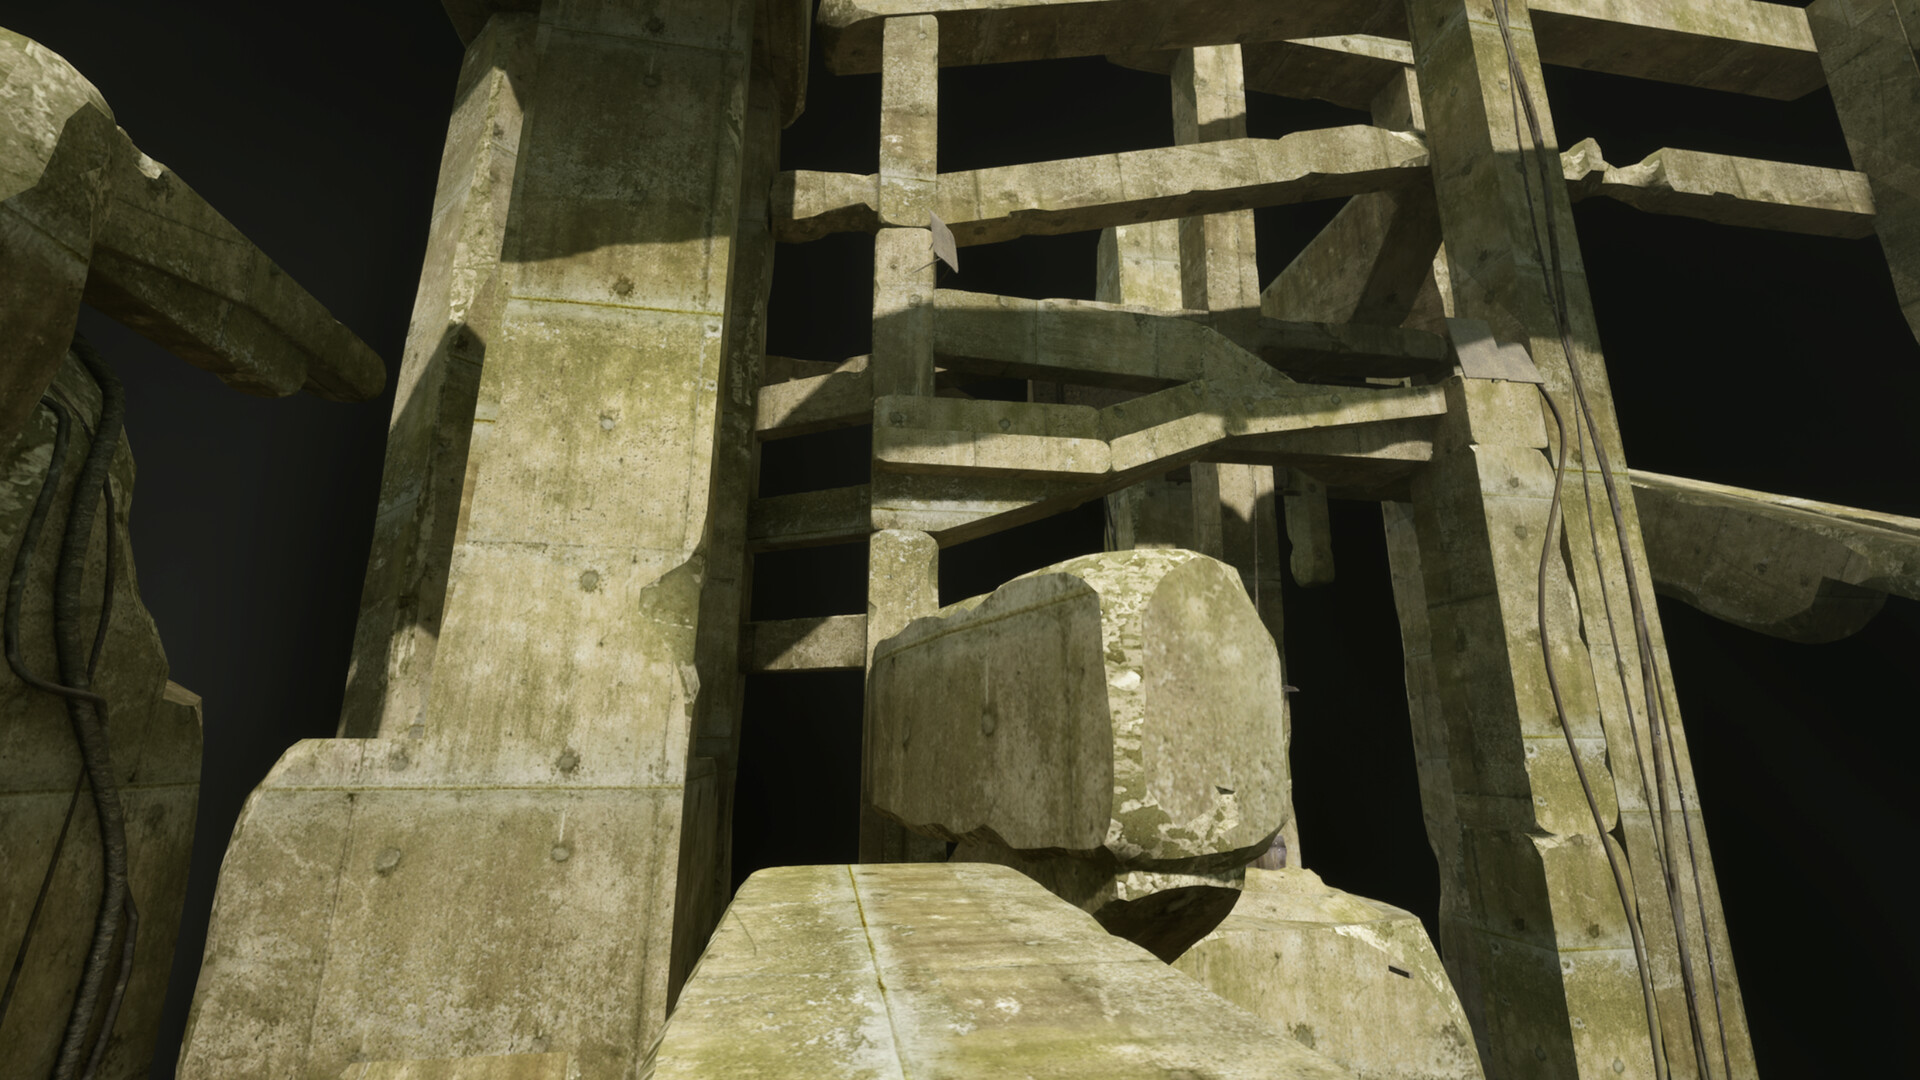
Route overview
The linked sources include a fan route breakdown, a Steam community discussion with player tips, and two short videos showing Kreedz and its B-Side. They support route study and practice planning, but not an official mechanic or permanent checkpoint specification.
| Route segment | Practice focus | Reset cue |
|---|---|---|
| Opening climb | Find a repeatable launch position and wall angle | Restart if the first landing is already off-line |
| Vertical transfer | Keep the camera on the next surface before leaving the wall | Rehearse the transfer without chasing the clock |
| Mid-route transition | Link climb, jump and slide rather than stopping on a ledge | Split the section at the last stable landing |
| Final approach | Protect the landing angle into the finish | Repeat the previous checkpoint until three clean exits work |
The community guide pairs jungle01 with the kreedz B-Side. Treat that relationship and the route breakdown as a dated community mapping, then verify the unlock icon in your own level menu.
Practice plan
- Watch the short main-route run to understand the overall line.
- Use the fan breakdown to divide the route into repeatable checkpoints.
- Treat Steam discussion advice as player reports and test one suggestion at a time.
- Keep the main route and B-Side footage separate when reviewing a failed section.
Version warning
Players report newer checkpoints, and route advice can change with the game build. Recheck the current discussion and videos before depending on an old checkpoint or time. For general mechanics, return to the movement tech index.
Sources
- Kreedz fan guideCommunity guide
- Kreedz runVideo reference